This tutorial explains the different steps for installing Oracle Database 12c Software on Windows.
1. Launch the installation with OUI
Launch the Oracle Universal Installer (OUI) to start the installation. Make sure all prerequisites are met to avoid errors during the installation. OUI is a consistant Java application which can be used to install, deinstall, patch, clone or upgrade an Oracle database installation.
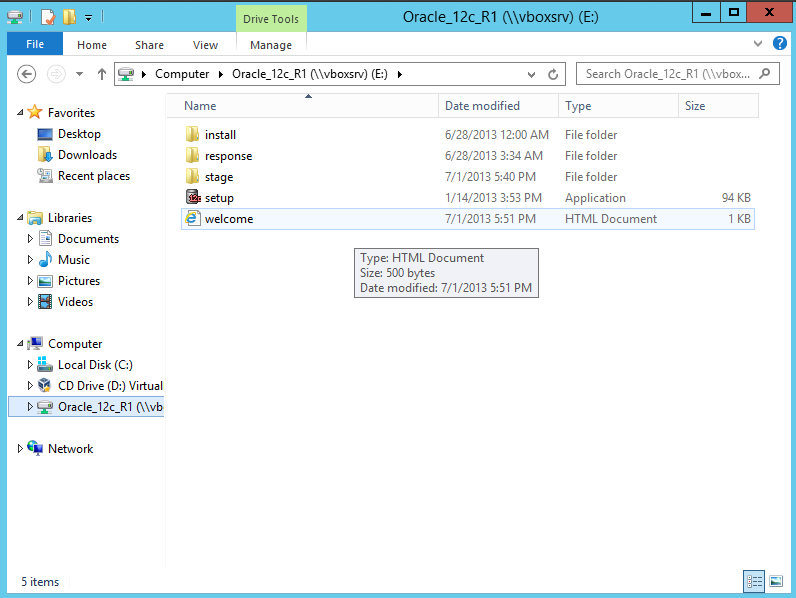
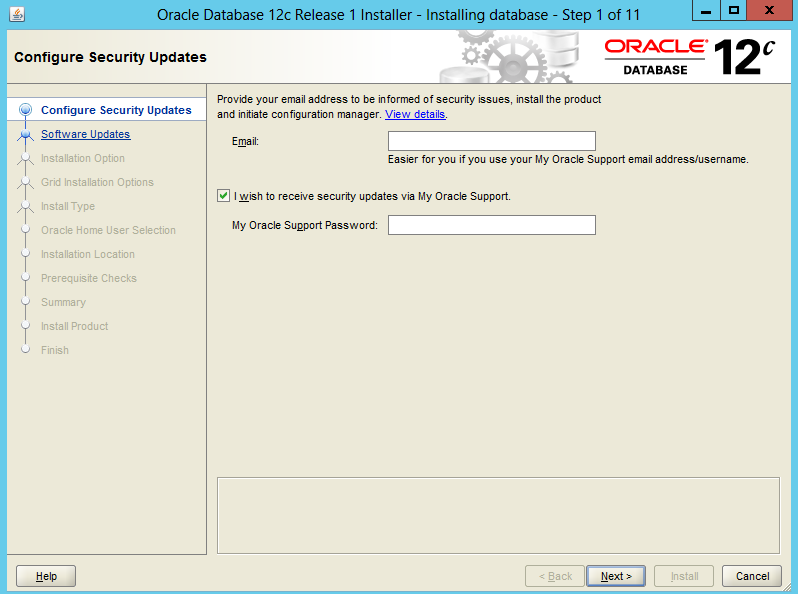
2. Provide your Oracle Support credentials
If you have an Oracle Support account you can provide your email address and your Oracle Support password in order to receive email alerts from Oracle concerning security issues. If you don’t have an Oracle Support account, skip this step by unchecking the box. With Oracle Support you can
- Search for solutions to you database issues
- Download patches and updates
- Access proactive support tools
- Collaborate in the My Oracle Support Community
- Create a Service Request
3. Install software updates
Again, if you purchased a licence from Oracle, you can provide your credentials to download software updates for this current installation.
4. Choosing installation options
Installation options : Installing the Oracle Software only – You have the possibility to create a database, upgrade an existing database or install the database software only. In this tutorial we will install the software which comes with all the necessary tools such as DBCA to create a database later.
5. Grid installation options
Next, select a type of database installation. Oracle RAC is a cluster database with a shared cache architecture that overcomes the limitations of traditional shared-nothing and shared-disk approaches to provide highly scalable and available database solutions for all business applications. For distributed environments you may install a RAC database or a RAC node database. As we will install single install a single install database in the next tutorial, we opt for the first choice “Single instance Database installation”. Recall that an instance support only a single database.
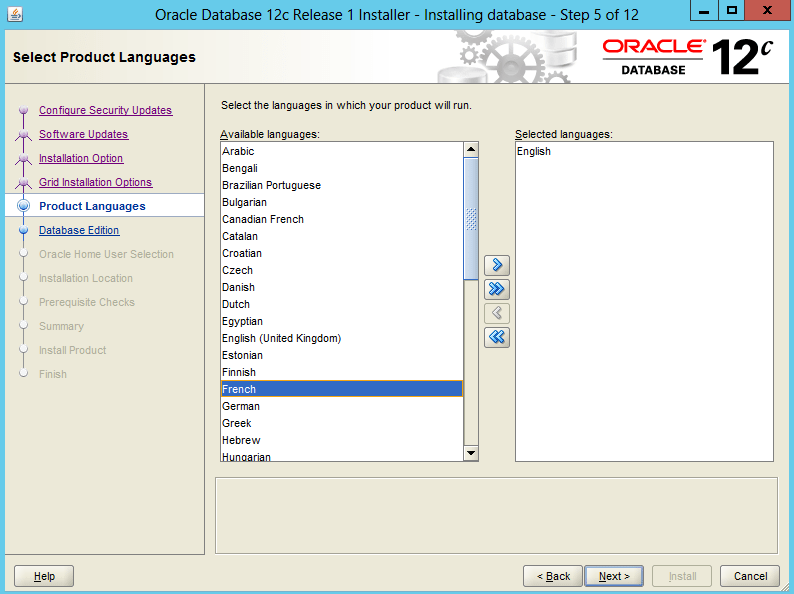
6. Language selection
Choose which language the software should use after it is installed. You can select multiple languages. The default value is English. If you choose a value other than English, it does not change the language used by the installation. The default language can be changed at any time after the installation
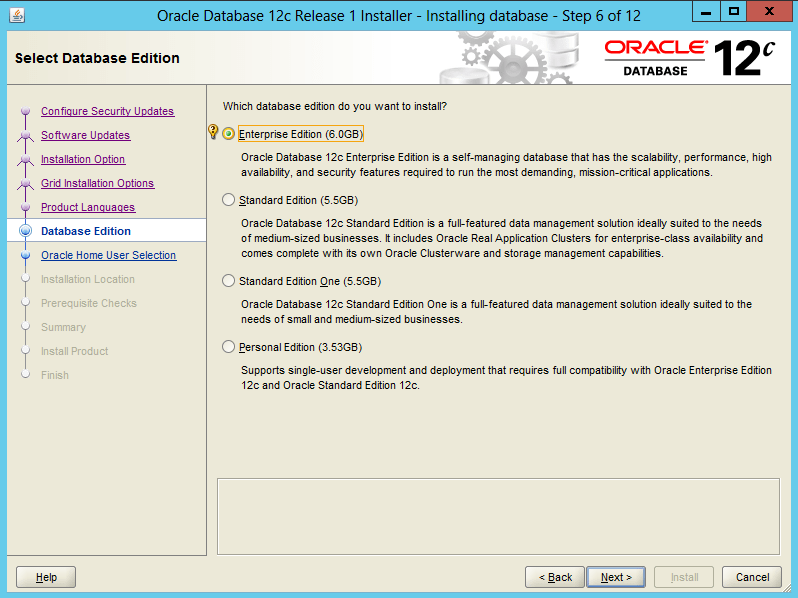
7. Select the database edition you want to install.
- Enterprise Edition : This installation type is the full-featured Oracle Database product that provides data management for enterprise-level applications. It is intended for mission-critical, high-security online transaction processing (OLTP) and data warehousing environments.
- Standard Edition : This installation type is suitable for workgroup or department-level applications, and for small to medium-sized enterprises. It provides core relational database management services and options and includes an integrated set of management tools, replication, Web features, and facilities for building business-critical applications.
- Standard Edition One : This installation type is suitable for workgroup, department, or web applications. It provides core relational database management services for single-server environments or highly distributed branch environments. Oracle Standard Edition One includes all the facilities necessary to build business-critical applications.
- Personal Edition (Microsoft Windows operating systems only) : This installation type installs the same software as the Enterprise Edition, but supports only a single-user, development and deployment environment.
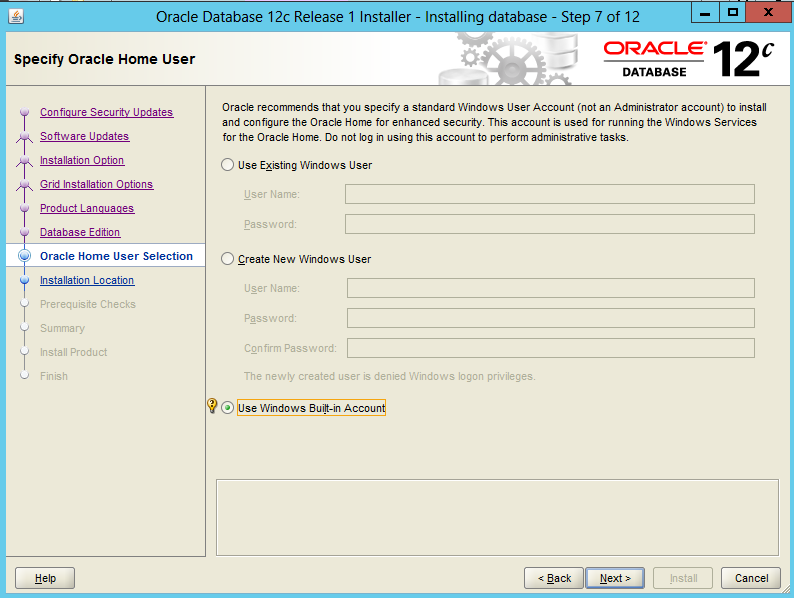
8. Select an Oracle Home user
Use a non-administrator, low privileged Windows User Account as the Oracle Home User. This option is recommended for database installation to ensure that Oracle services run with limited privileges. For single instance databases, you can also choose to allow the Oracle Installer to create a new Windows User Account (local user only) which will then be used as the Oracle Home User.
9. Select paths for Oracle Base and Oracle Home
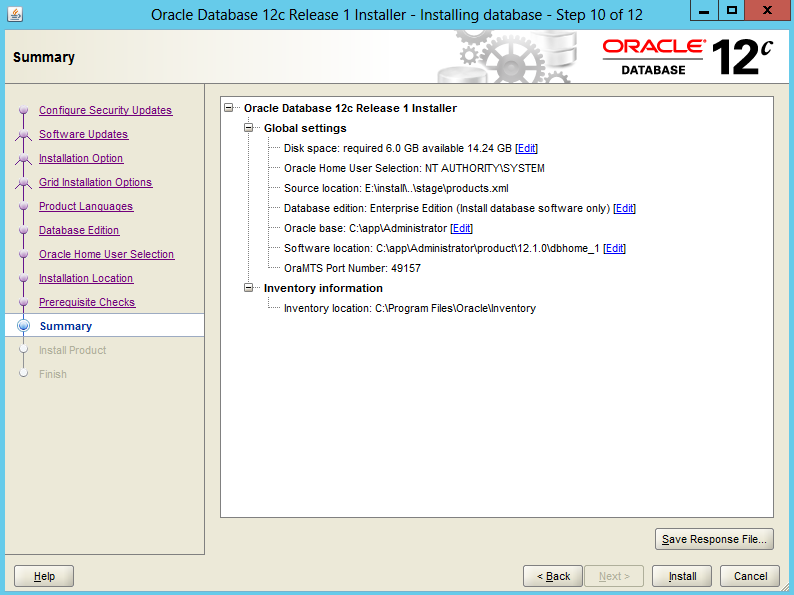
Specify the directory in which the Oracle Database software is installed, or the location where the product binary files are copied from the installation media. You must choose a location that has enough disk space to contain the software and is accessible by the operating system user performing the installation.
You also specify the location of the Oracle base directory, which is used by all Oracle software products installed on the server. The first time you install Oracle software on a server, you are prompted to specify the location of the inventory directory, calledoraInventory. This directory provides a centralized inventory of all Oracle software products installed on the server. You should use the same value for the Oracle inventory directory each time you perform an Oracle software installation on the server.
10. Checking prerequisites
Click next to perform the requirements check. OUI performs several environment checks and indicates whether the check was a success, or resulted in a warning or failure. Details of the checks are provided in the displayed window. The installation can proceed only when all checks have a status of either Succeeded or Warning. If any of the environment checks failed, then they must be resolved manually
11. Finalize the installation
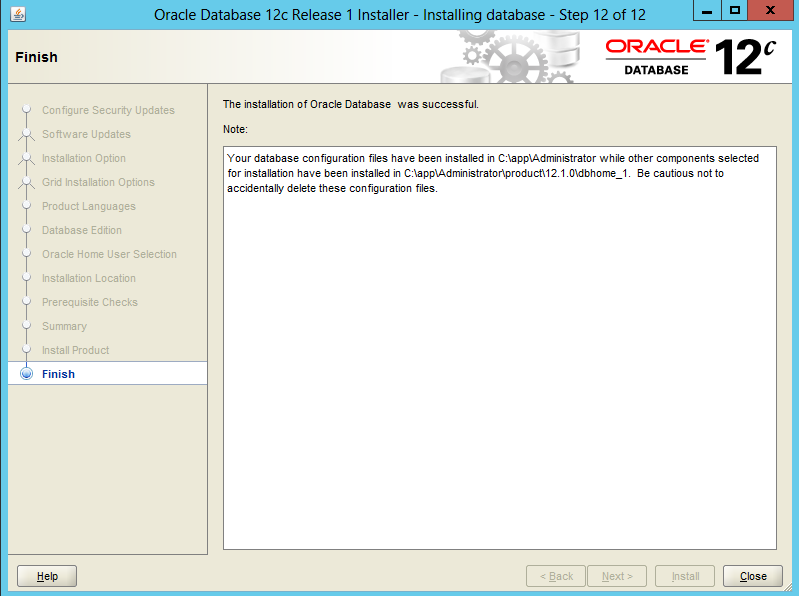
If all prerequisites are met, click on next to install the product. The OUI can be closed after the installation.
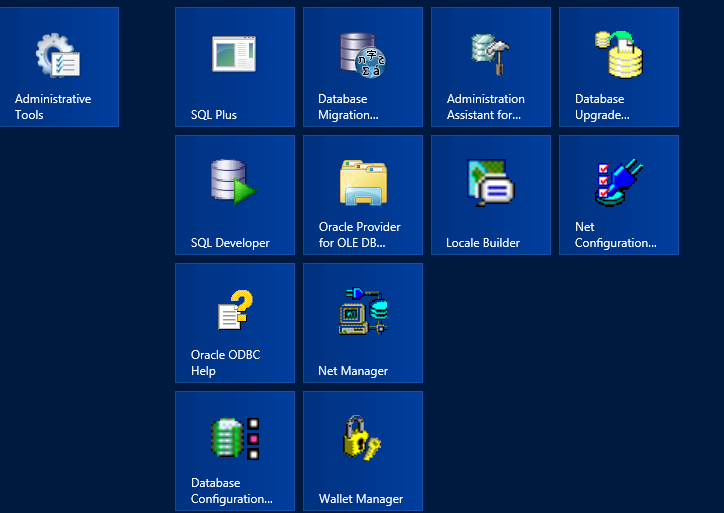
Installed tools
A bunch of tools installed by the OUI can be seen on the Start menu of Windows. The database configuration assistant (DBCA) and Oracle Net Configuration Assistant will we be used in the next tutorial to create a database.
