In this guide, you will learn how to create a listener in Oracle Database 19c with NETCA and Oracle Net Manager.
A listener is a processus allowing to serve a connection to a database instance via a network protocol (TCP / IP, IPC, etc.). It receives incoming client connection requests and manages the traffic of these requests to the database server. Creating a listener is then necessary if you want your users to access the database remotely.
You can create a listener in Oracle Database 19c with Network Configuration Assistant or Oracle Network Manager. These tools are available after you install Oracle Database 19c software.
In the following, I will show you how to create a listener in Oracle Database 19c with these tools.
Create a listener in Oracle Database 19c with NETCA
- Launch the Network Configuration Assistant with necta command.

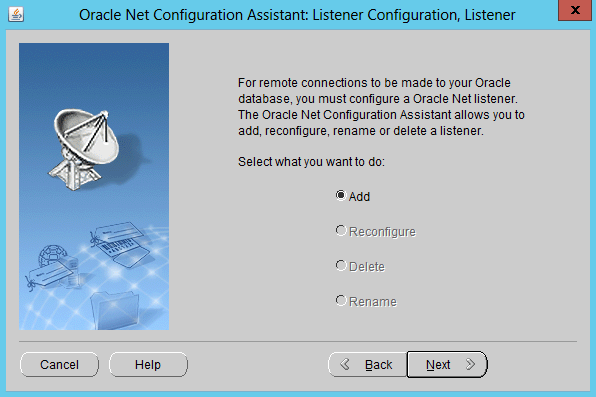
- Select “Listener Configuration” and click “Next“.

- Select “Add” then click “Next“.

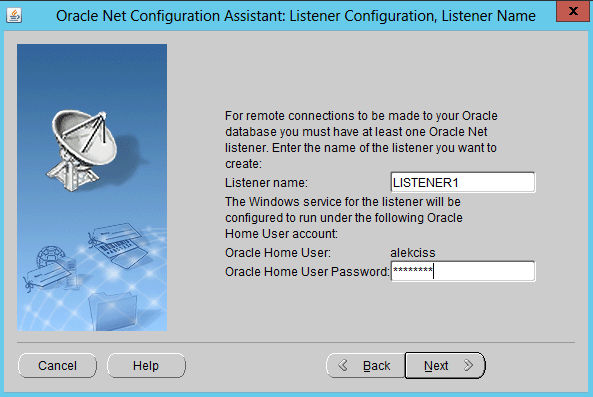
- Give a name to the listener to easily identify it from other configured listeners and provide Oracle Home user password.

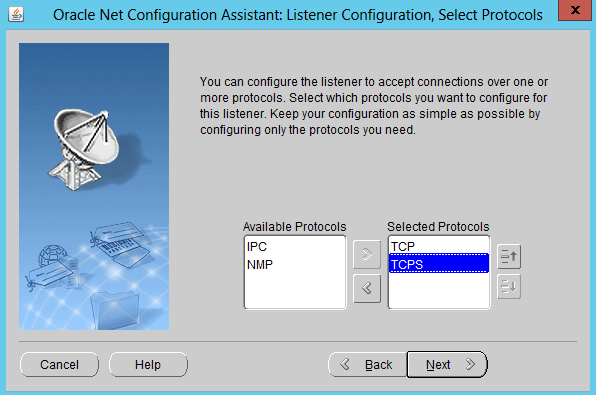
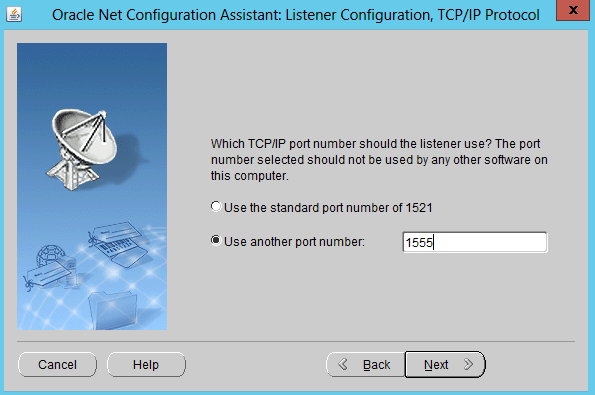
- Choose which protocols client applications will use to access the database. For TCP and secure TCP (TCPS), a port number is required.

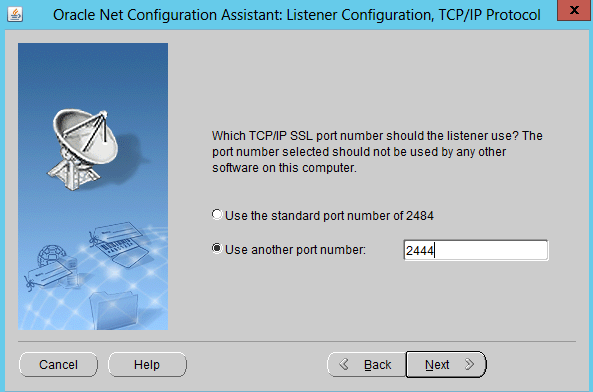
- Provide port numbers for TCP and TCPS protocols. Make sure port numbers are greater than 1024.


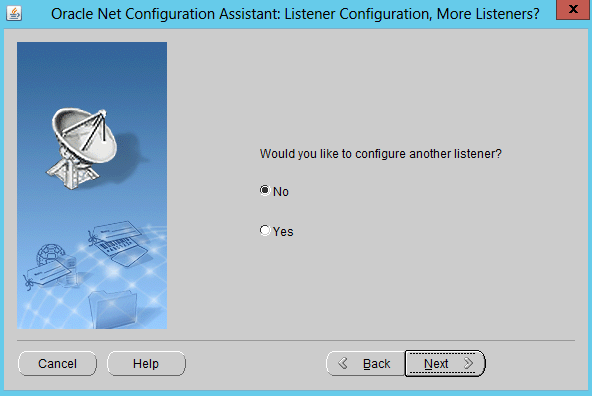
- Finish the listener configuration.


Create a listener in Oracle Database 19c using Oracle Network Manager
To create a listener with Oracle Network Manager, you can execute the following steps.
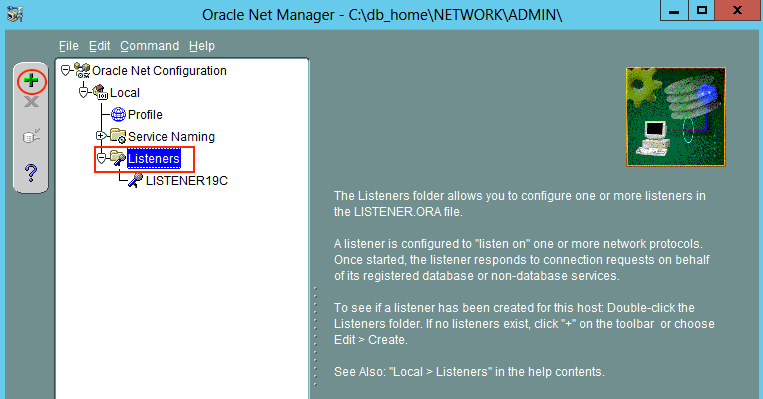
- Start Oracle Network Manager from Windows start menu. Then, click on “Listeners” and the “+” button.

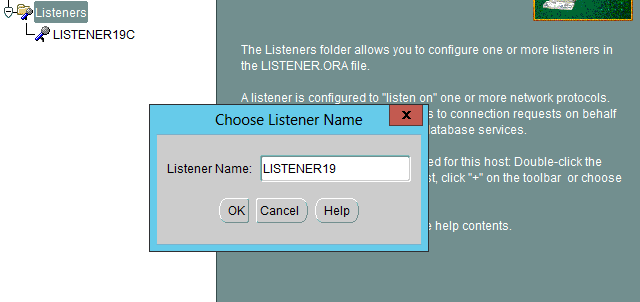
- Give a name to the listener and click “OK”.

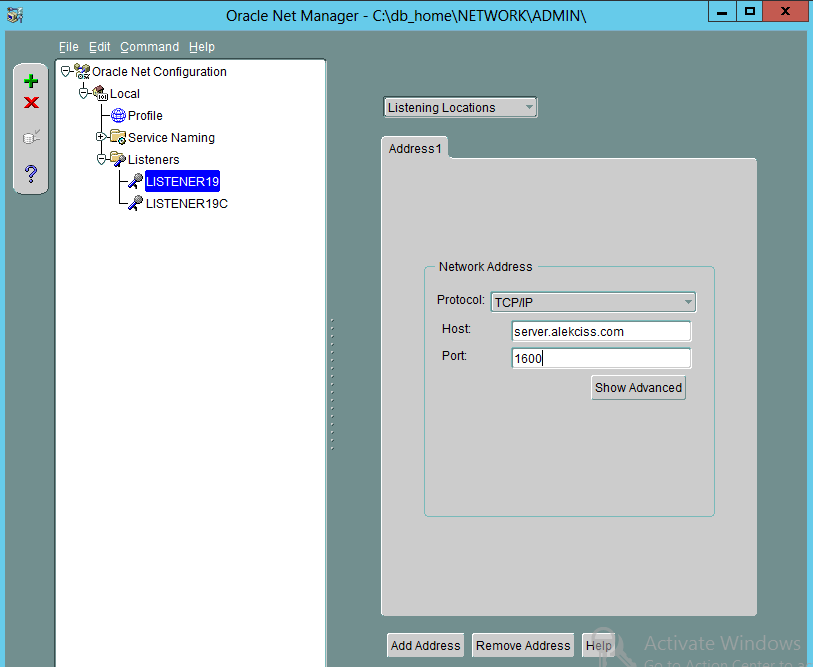
- Next, select “Listening Locations” and click on “Add Address” to indicate the server remote access details.

- Select a protocol (eg.”TCP/IP“) and provide the server hostname (or IP address) and a port number. You can repeat the process to add another protocol (eg. “TCP/IP with SSL“) with “Add Address” button.

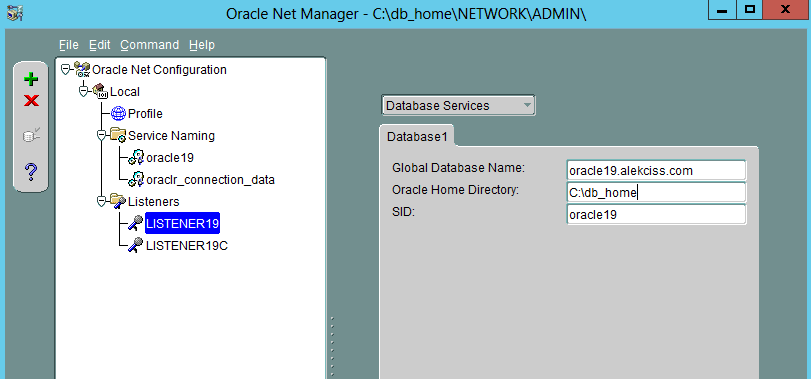
- Configure the database to use the listener. To do so, click on the listener name, on the left, then choose “Database Services”, then click “Add Database“.
- Provide the database global name, the Oracle Home Directory and the SID.

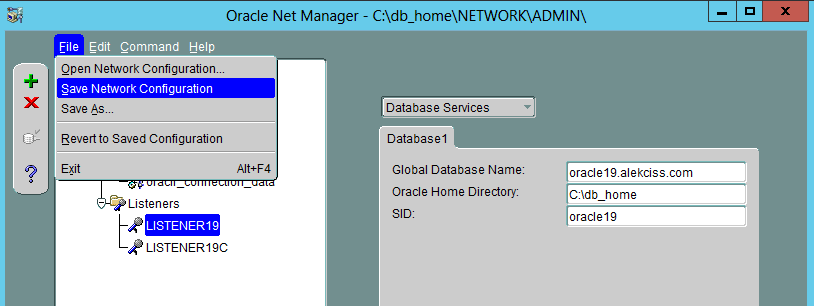
- Save the listener configuration and exit.


Start a listener in Oracle Database 19c
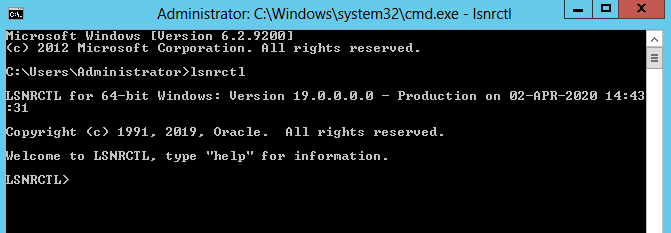
In order to use a listener, you will need to start it. Oracle Database comes with a simple tool to control your listeners: Listener Control or LSNRCTL in short. You can use it to
- check the status of a listener;
- start or reload a listener;
- stop a listener.
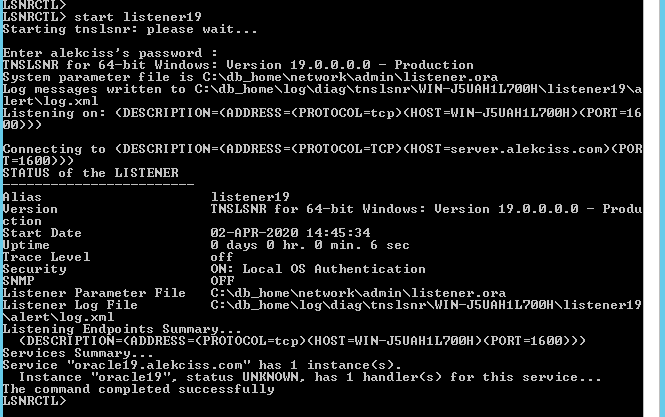
To start [stop, reload] a listener, you can run the command start listener_name [stop listener_name, reload listener_name].
You can also control the listener from Windows services. Use the following combination: “Windows + R“, then type services.msc.

Look for the listener and use the left panel to start, stop or reload it.

That’s it. Still having questions or remarks on how to create a listener in Oracle Database 19c? Leave a comment below.